Getting Started with Argo CD on Kubernetes
This is a in-depth tutorial on how to get started with Argo CD on Kubernetes.

I have a passion for problem solving, building things and making businesses succeed. I’m madly curious by heart, so I’m very hungry for knowledge and you will always find my trying and testing out new things to stay ahead of the game.
In this tutorial I will show you how to get started with ArgoCD on Kubernetes and we will cover the following topics:
How to provision a local Kubernetes cluster.
How to deploy Argo CD on Kubernetes using Helm.
How to grant Argo CD access to you Private Github Repositories.
How to configure your application sets on Github, and how to deploy applications to your cluster.
How to get started with RBAC to create a local user.
How to setup SSO with Authentik.
How to use Argo CD Notifications using Email.
Pre-Requisites
To follow along in this tutorial you will need the following
Install a Kubernetes Cluster
If you already have a Kubernetes Cluster, you can skip this step.
Define the kind-config.yaml
kind: Cluster
apiVersion: kind.x-k8s.io/v1alpha4
nodes:
- role: control-plane
  image: kindest/node:v1.26.6@sha256:6e2d8b28a5b601defe327b98bd1c2d1930b49e5d8c512e1895099e4504007adb
  extraPortMappings:
  - containerPort: 80
    hostPort: 80
    protocol: TCP
    listenAddress: "0.0.0.0"
  - containerPort: 443
    hostPort: 443
    protocol: TCP
Then create the cluster with kind:
kind create cluster --name example --config kind-config.yaml
Argo CD Installation
You can deploy Argo CD using the kubernetes manifests and deploy them with kubectl or you can deploy them with helm.
I will be deploying Argo CD using Helm, the reason for that is, I would eventually like to manage my argo deployment using Argo CD, and I have found when deploying it initially using manifests, it was not as smooth as compared to helm.
So to start deploying Argo CD with Helm, so first we will need to add the helm chart repository where the chart is hosted:
helm repo add argo https://argoproj.github.io/argo-helm
Then we can find the latest version using the following:
helm search repo argo/argo-cd
# NAME            CHART VERSION    APP VERSION    DESCRIPTION
# argo/argo-cd    6.0.13           v2.10.0        A Helm chart for Argo CD
Now since we have the version, we can get the default values and redirect the output to a file:
helm show values argo/argo-cd --version 6.0.13 > values.yaml
I only have one config parameter that I want to change and the rest I want to keep at defaults, so I am only defining this as my values.yaml:
---
configs:
  params:
    server.insecure: true
Now we can deploy argo cd to our cluster:
helm upgrade --install argocd argo/argo-cd \
  --version 6.0.13 \
  --values values.yaml \
  --namespace argocd --create-namespace
We can monitor our installation and ensure that all the pods are running in the argocd namespace:
kubectl get pods -n argocd
Once the pods are running, we can retrieve the argo cd admin password from a kubernetes secret:
kubectl get secret argocd-initial-admin-secret -n argocd \
  -o jsonpath="{.data.password}" | base64 -d
Now that we have the secret we can create a port-forward session so that we can access the argo cd frontend:
kubectl -n argocd port-forward svc/argocd-server 8080:80
Access the UI on http://localhost:8080
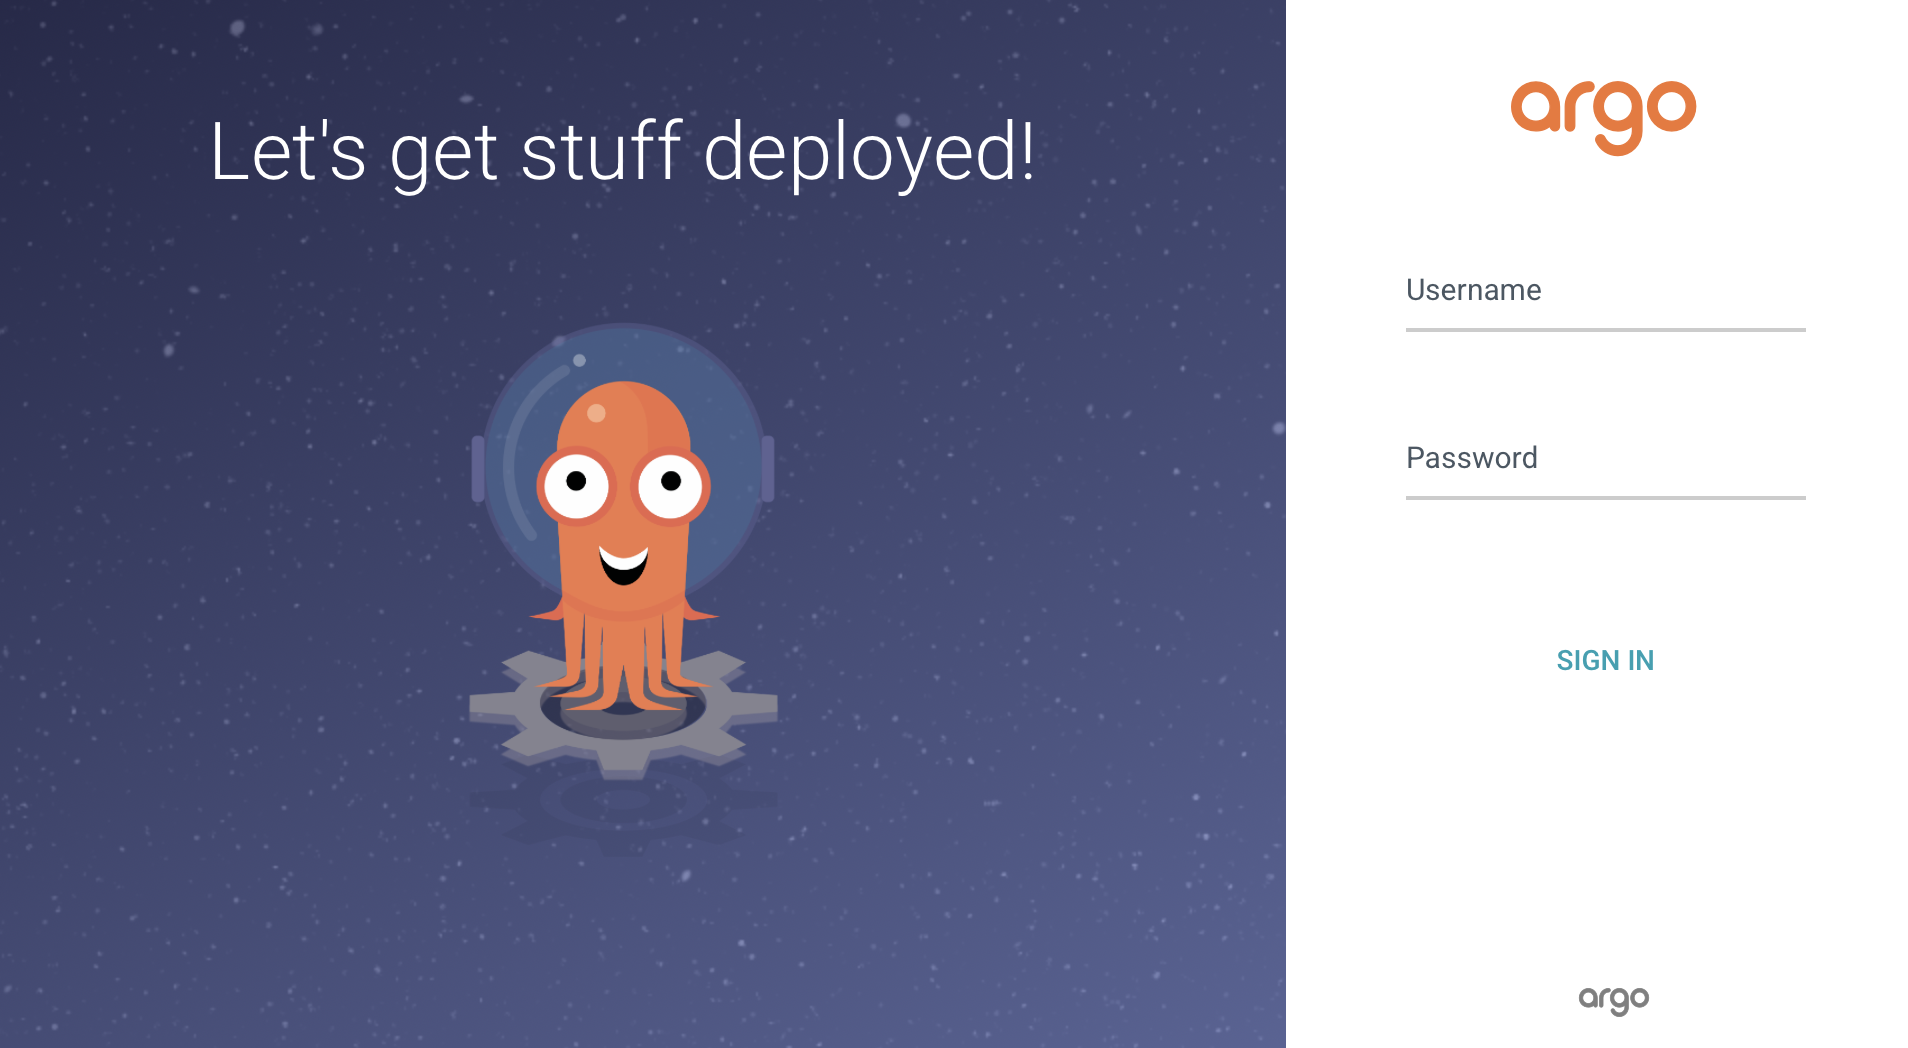
Once we login we should see this:
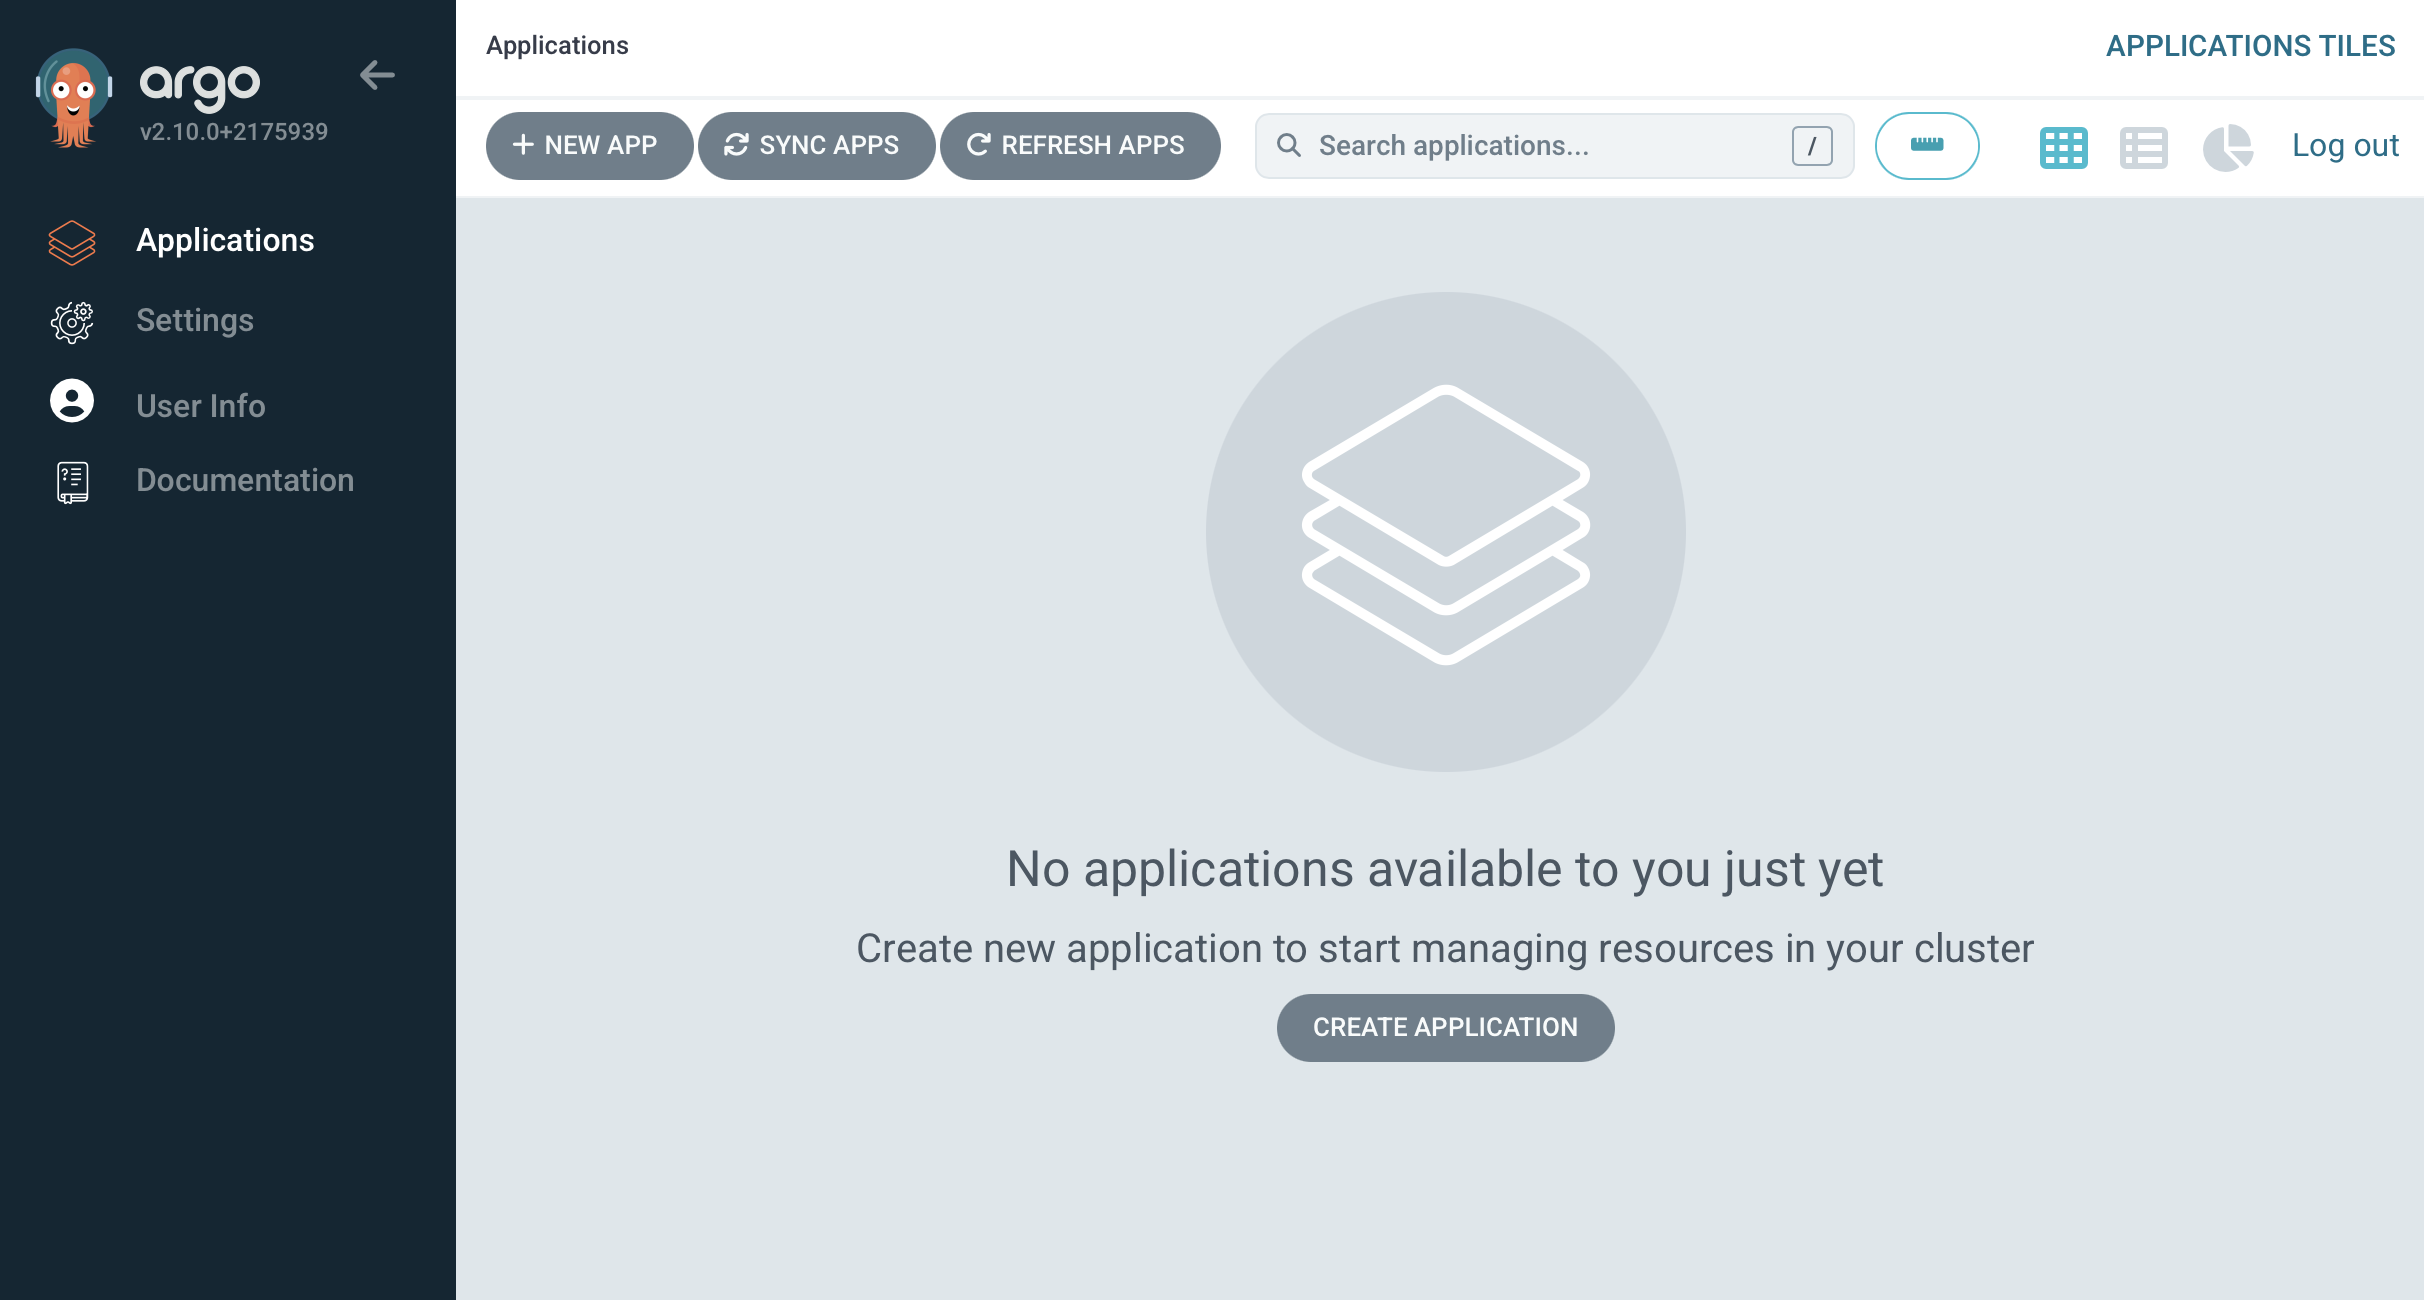
You will see a blank canvas, we do see an option to create an application via the user interface, but we are not going to use this as we will define all our resources in a declarative manner.
Configure Github
We would like to store all our yaml in Github (or Gitlab, Gitea, etc). And Argo CD will then read from Github and if the main branch gets updated, Argo CD should then deploy the resources that got updated.
But in order for ArgoCD to read from Github Private Repositories, we need to define a secret for ArgoCD that contains the credentials for Github so that it can access private repositories.
You can read more on ArgoCD's Private Repositories Documentation, but in short we need to create a personal access token on Github.
Head over to github and access https://github.com/settings/tokens, and create a new token with the scope that can read and write private repositories:
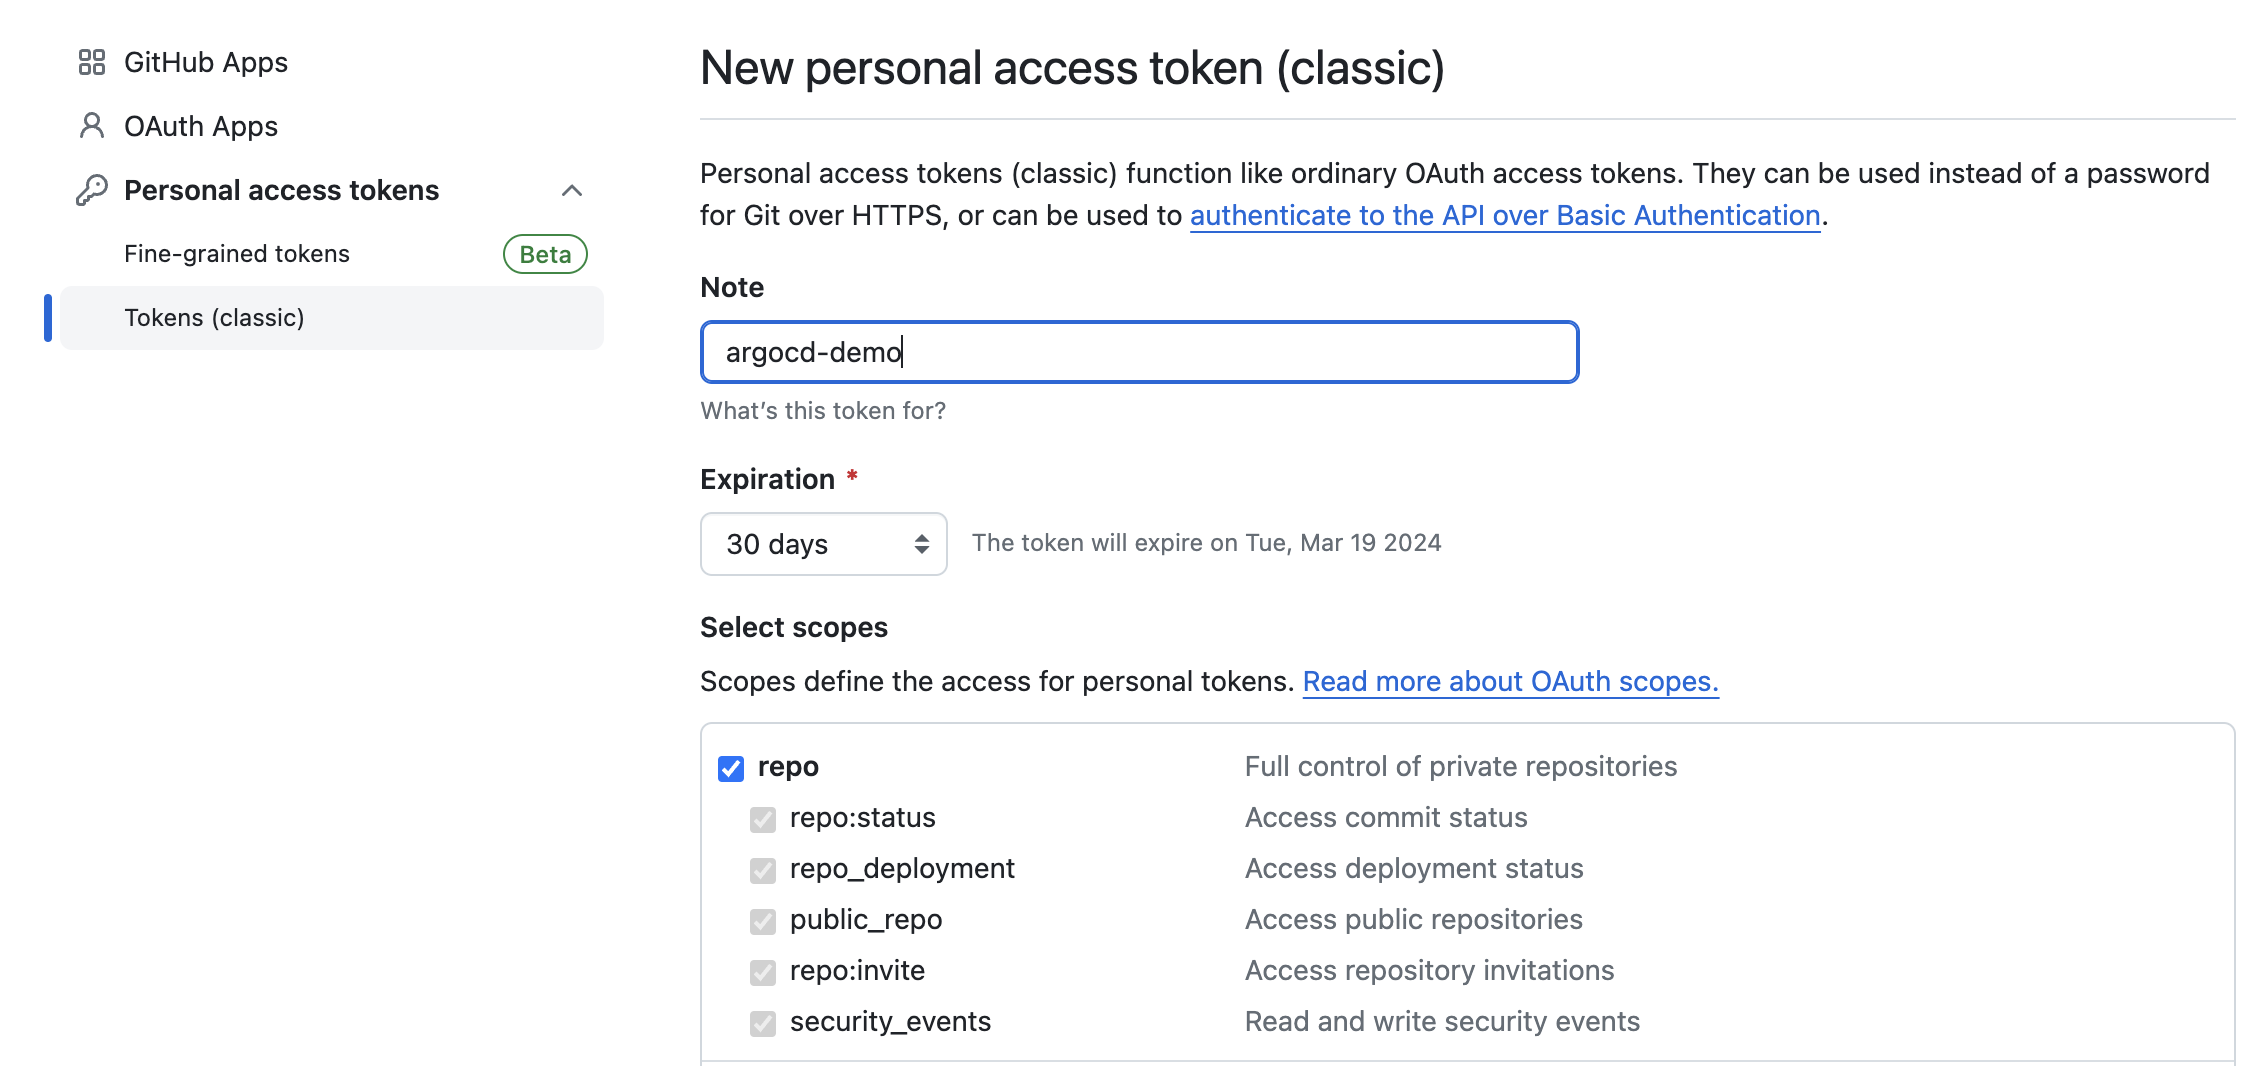
Once you create your personal access token you will see the token once in the github user interface, store that token as an environment variable:
export GITHUB_ACCESSTOKEN=xxxxxxx
Then create the kubernetes secret that will hold the token:
cat <<EOF | kubectl apply -f -
apiVersion: v1
kind: Secret
metadata:
  name: private-github-repos
  namespace: argocd
  labels:
    argocd.argoproj.io/secret-type: repo-creds
stringData:
  url: https://github.com/ruanbekker/argocd-hashnode-demo
  username: github
  password: ${GITHUB_ACCESSTOKEN}
EOF
At this point ArgoCD will be able to pull from our private Github repository.
ArgoCD Applicationset
Now that we have defined authentication for ArgoCD to access our private Github repository, we can define our ApplicationSet:
We are defining a ApplicationSet resource, which will look at the Github repository https://github.com/ruanbekker/argocd-hashnode-demo and at the path default/argocd-apps/* for every commit merged to the main branch.
Should something change in the mentioned path in the main branch, and there is a difference compared what Argo is managing in the cluster and what is defined in Github, then Argo will sync the changes to the cluster.
In the target repository mentioned above, we need to create the directory:
mkdir -p argocd-hashnode-demo/default/argocd-apps
then change to the directory:
cd argocd-hashnode-demo/default/argocd-apps
Then define the Chart.yaml with the argocd-apps dependency:
apiVersion: v2
name: argocd-apps
description: ArgoCD Apps
type: application
version: 1.6.1
dependencies:
- name: argocd-apps
  version: 1.6.1
  repository: https://argoproj.github.io/argo-helm
Then from the argocd-apps directory we want to create the values.yaml file:
touch values.yaml
And then package the chart:
helm dependency update
We should now have the following directory structure:
.
├── Chart.lock
├── Chart.yaml
├── charts
│   └── argocd-apps-1.6.1.tgz
└── values.yaml

1 directory, 4 files
And the values.yaml that will include our applicationset definition. We are telling Argo where and what it needs to monitor, so in future we can just add new applications to the directories defined, and Argo will sync them to our cluster.
In a given directory structure like the following:
└── apps
    ├── hostname
    │   ├── Chart.yaml
    │   └── values.yaml
    ├── mysql
    │   ├── Chart.yaml
    │   └── values.yaml
    └── nginx
        ├── Chart.yaml
        └── values.yaml
Argo will create the applications under the apps directory and will place them in the namespace of the folder name of the application, like the following:
appname:
hostname, namespace:hostnameappname:
mysql, namespace:mysqlappname:
nginx, namespace:nginx
Now we can provide the following applicationsets configuration in our values.yaml:
argocd-apps:
  applicationsets:
  - name: default
    namespace: argocd
    generators:
    - git:
        repoURL: https://github.com/ruanbekker/argocd-hashnode-demo.git
        revision: HEAD
        directories:
        - path: default/*
        - path: default/argocd-apps
          exclude: true
    template:
      metadata:
        name: '{{path.basename}}'
      spec:
        project: "default"
        source:
          repoURL: https://github.com/ruanbekker/argocd-hashnode-demo.git
          targetRevision: HEAD
          path: '{{path}}'
        destination:
          server: https://kubernetes.default.svc
          namespace: '{{path.basename}}'
        syncPolicy:
          automated: {}
          syncOptions:
          - CreateNamespace=true

  - name: apps
    namespace: argocd
    generators:
    - git:
        repoURL: https://github.com/ruanbekker/argocd-hashnode-demo.git
        revision: HEAD
        directories:
        - path: apps/*
    template:
      metadata:
        name: '{{path.basename}}'
      spec:
        project: "default"
        source:
          repoURL: https://github.com/ruanbekker/argocd-hashnode-demo.git
          targetRevision: HEAD
          path: '{{path}}'
        destination:
          server: https://kubernetes.default.svc
          namespace: '{{path.basename}}'
        syncPolicy:
          automated: {}
          syncOptions:
          - CreateNamespace=true

  - name: argocd-apps
    namespace: argocd
    generators:
    - git:
        repoURL: https://github.com/ruanbekker/argocd-hashnode-demo.git
        revision: HEAD
        directories:
        - path: default/argocd-apps
    template:
      metadata:
        name: '{{path.basename}}'
      spec:
        project: "default"
        source:
          repoURL: https://github.com/ruanbekker/argocd-hashnode-demo.git
          targetRevision: HEAD
          path: '{{path}}'
        destination:
          server: https://kubernetes.default.svc
          namespace: argocd
        syncPolicy:
          automated: {}
          syncOptions:
          - CreateNamespace=true
Push that to Github's main branch, then Argo CD will be aware of our application sets.
We need to however bootstrap ArgoCD with a main applicationset, which will then discover the rest of our applicationsets.
I will store the bootstrap applicationset in a different path in my git repository, so that I can deploy it when I need to at _bootstrap/applicationset.yaml. Argo will not pick up this from the Git repository as its not monitored, but we store it to manage the application set.
In the _bootstrap/applicationset.yaml:
apiVersion: argoproj.io/v1alpha1
kind: ApplicationSet
metadata:
  labels:
    argocd.argoproj.io/instance: argocd-apps
  name: argocd-apps
  namespace: argocd
spec:
  generators:
  - git:
      directories:
      - path: default/argocd-apps
      repoURL: https://github.com/ruanbekker/argocd-hashnode-demo
      revision: HEAD
  template:
    metadata:
      name: '{{path.basename}}'
    spec:
      destination:
        namespace: argocd
        server: https://kubernetes.default.svc
      project: default
      source:
        path: '{{path}}'
        repoURL: https://github.com/ruanbekker/argocd-hashnode-demo
        targetRevision: HEAD
      syncPolicy:
        automated: {}
        syncOptions:
        - CreateNamespace=true
Then we can deploy our application set:
kubectl apply -f _bootstrap/applicationset.yaml -n argocd
When we head back to argocd we can see our applicationset:
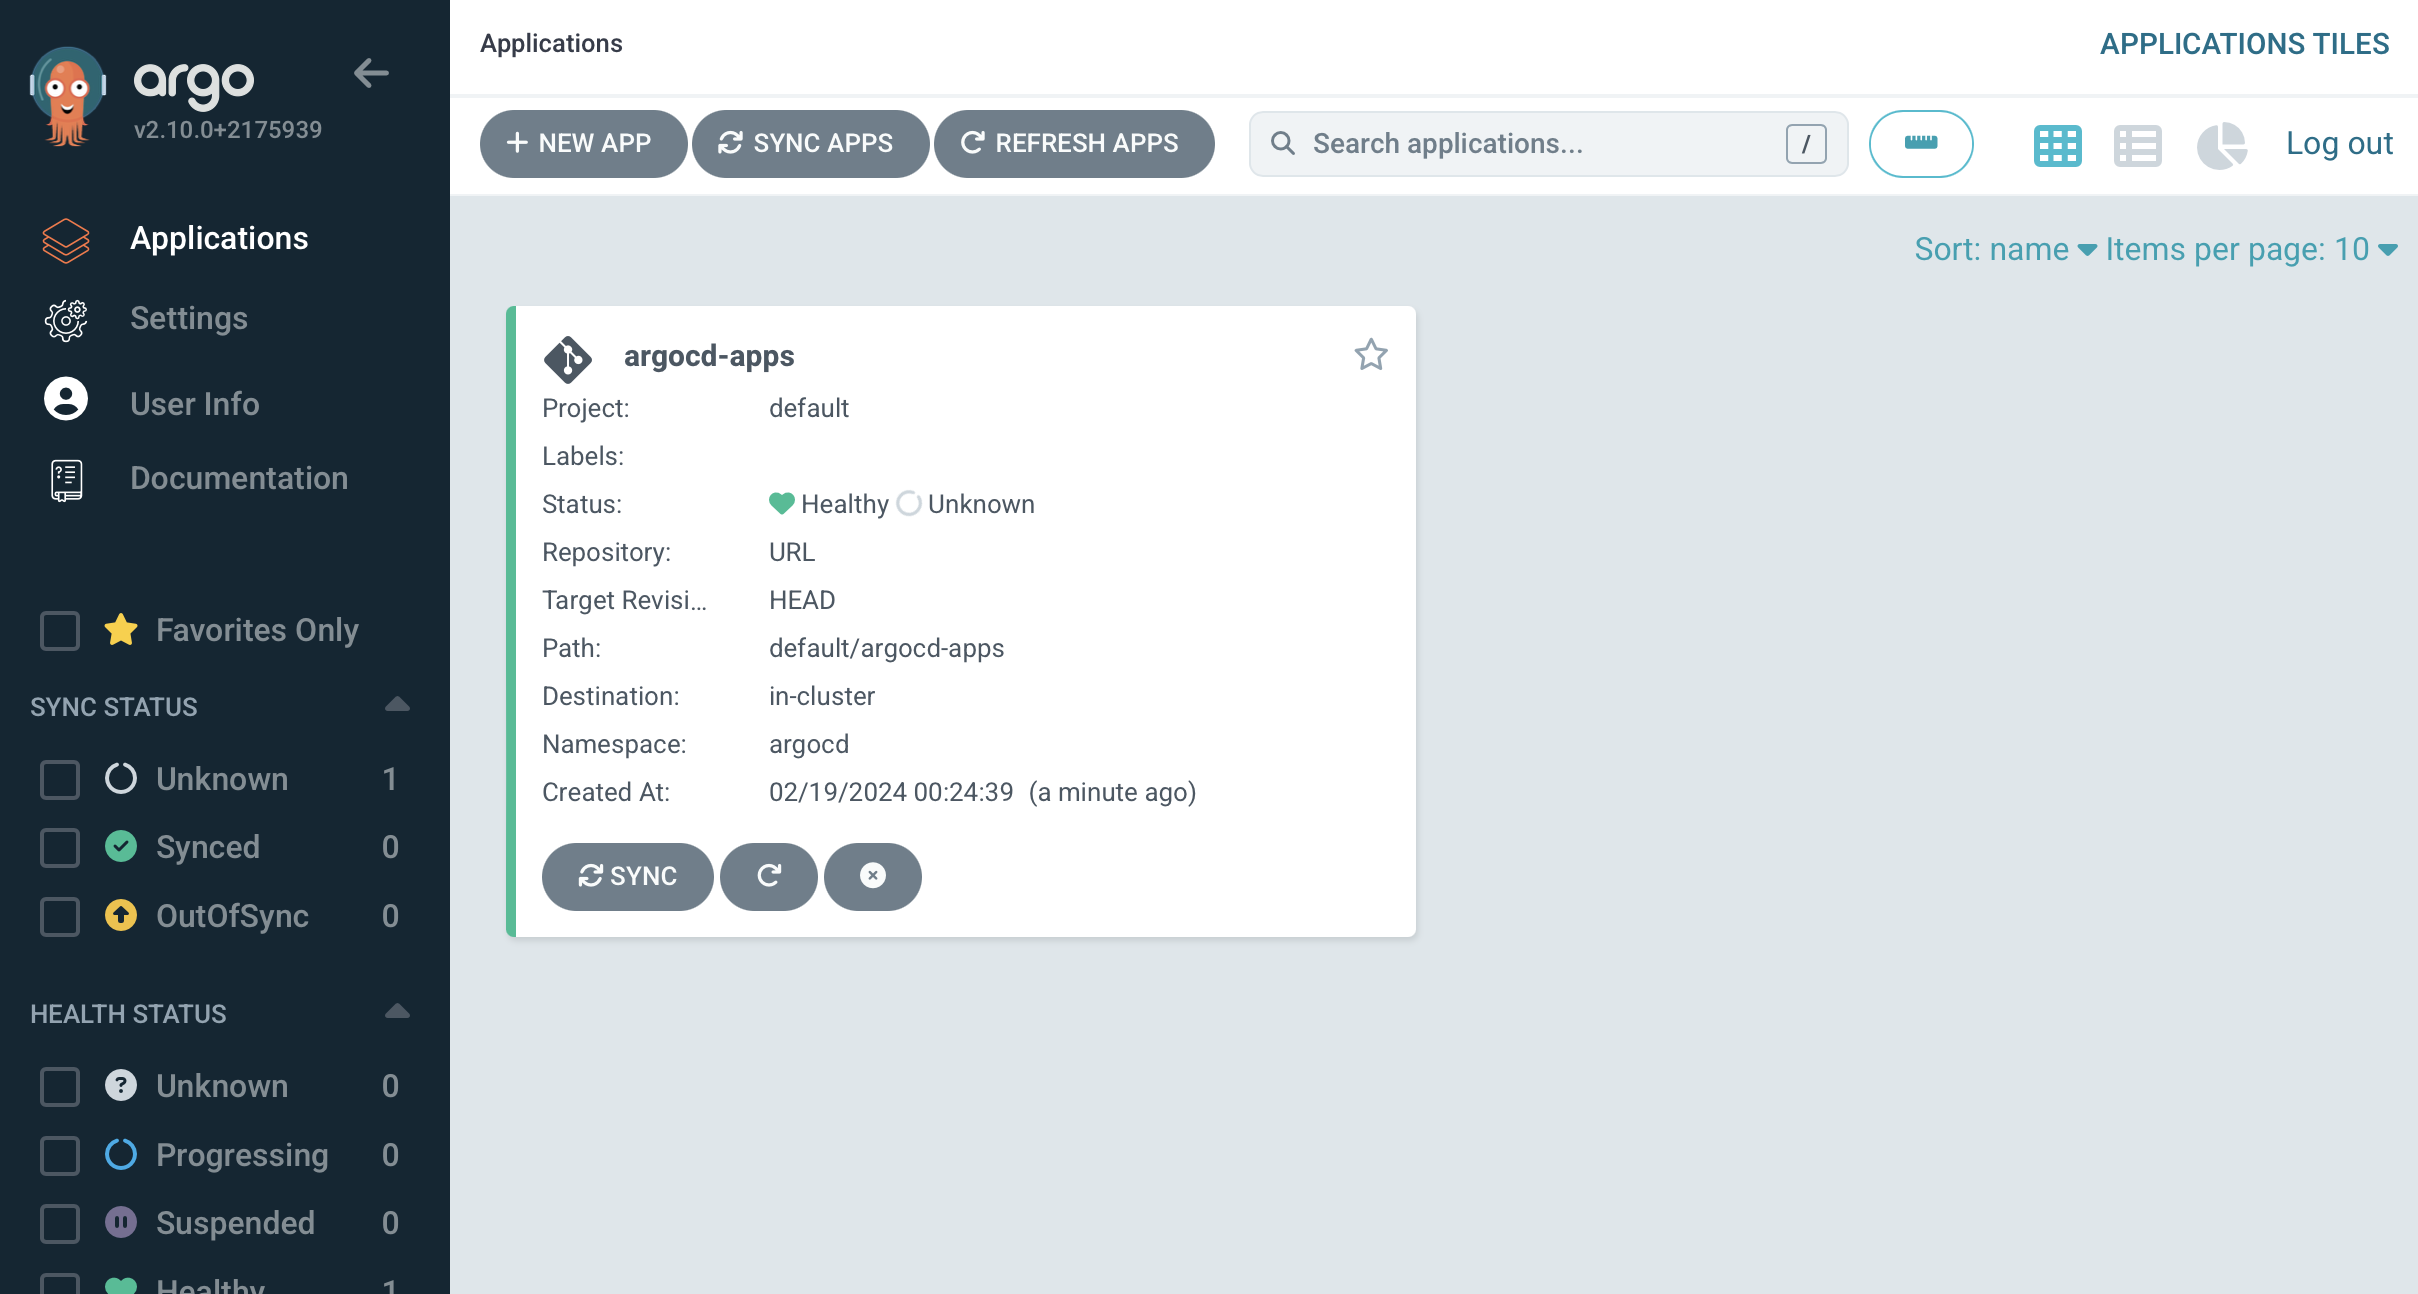
Now we can create our first application, in our Github repository, we can define a new Chart.yaml at:
mkdir -p apps/hostname
And create the chart yaml:
touch apps/hostname/Chart.yaml
And then provide the dependency chart information:
apiVersion: v2
name: microservice
description: microservice helm chart
type: application
version: 3.1.3
dependencies:
- name: microservice
  version: 3.1.1
  repository: https://charts.ruan.dev
The values.yaml at apps/hostname/values.yaml
microservice:
  replicaCount: 3
  env:
    vars:
      APP_TITLE: "Welcome"
Then change to the hostname app directory:
cd apps/hostname
And do a dependency update:
helm dependency update
And the directory structure should look like this:
.
├── Chart.lock
├── Chart.yaml
├── charts
│   └── microservice-3.1.1.tgz
└── values.yaml

1 directory, 4 files
Then push the changes up to the main branch, and a couple of seconds later we can see that argo cd picked up the changes and synced it to our cluster:

And when we select the hostname application we can see its resources:

Let ArgoCD manage itself
We have deployed ArgoCD with Helm, and then we started managing applications with Argo, so when we want to make changes on Argo itself, we ideally want to manage it in the same way as the other applications, through Argo and not via Helm as we want to keep consistency.
In order to do this, we need to define the helm chart in the paths that Argo is monitoring, if we inspect default/argocd-apps/values.yaml in our git repository we can see:
...
  applicationsets:
  - name: default
    namespace: argocd
    generators:
    - git:
        repoURL: https://github.com/ruanbekker/argocd-hashnode-demo.git
        revision: HEAD
        directories:
        - path: default/*
        - path: default/argocd-apps
          exclude: true
        ...
so that means we can place the Argo CD chart in default/argocd/, so lets do that.
First we will define default/argocd/Chart.yaml:
apiVersion: v2
name: argocd
description: ArgoCD Helm Chart
type: application
version: 6.0.13
dependencies:
- name: argo-cd
  version: 6.0.13
  repository: https://argoproj.github.io/argo-helm
Then we want to define the existing values default/argocd/values.yaml into the format like the following:
---
argo-cd:
  nameOverride: argocd
  configs:
    params:
      server.insecure: true
Once that has been defined, change to the argocd directory:
cd default/argocd
Then we need to package the dependencies into the chart directory:
helm dependency update
From the argocd directory, the contents should look like this:
├── Chart.lock
├── Chart.yaml
├── charts
│   └── argo-cd-6.0.13.tgz
└── values.yaml
You can then push these changes up to the remote repository on the main branch, then we can head back to the user interface, and we should see three applications:
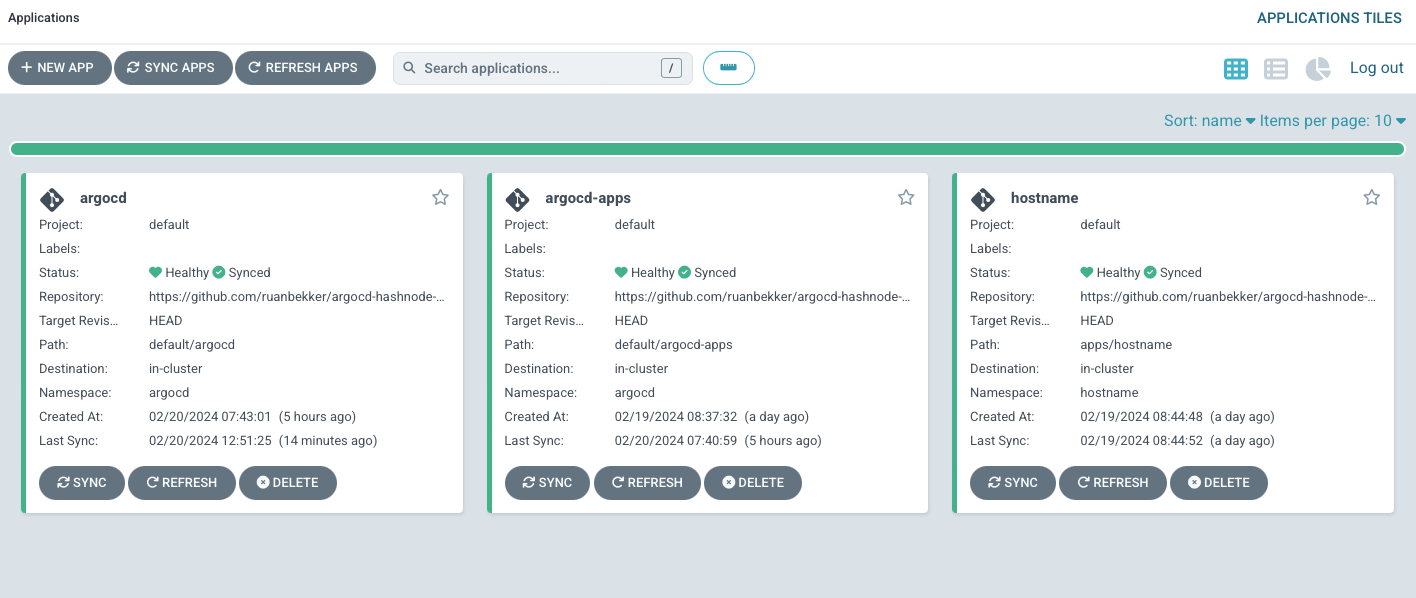
Now we have ArgoCD managed by itself.
ArgoCD CLI
From the releases page download the latest argocd cli binary, I am using Mac, so my download will look like this:
# Download the binary
curl -sLO https://github.com/argoproj/argo-workflows/releases/download/v3.5.4/argo-darwin-amd64.gz

# Unzip
gunzip argo-darwin-amd64.gz

# Make binary executable
chmod +x argo-darwin-amd64

# Move binary to path
sudo mv ./argo-darwin-amd64 /usr/local/bin/argo

# Test installation
argo version
In order to authenticate the argo cli with the argocd-server, we will create a port forward session:
kubectl -n argocd port-forward svc/argocd-server 8080:80
We will need the admin password, so we can retrieve the password:
kubectl get secret argocd-initial-admin-secret -n argocd -o jsonpath="{.data.password}" | base64 -d
Then in a new terminal session we can login against the local port that we forwarded:
argo login localhost:8081 --insecure
# WARNING: server is not configured with TLS. Proceed (y/n)? y
# Username: admin
# Password:
# 'admin:login' logged in successfully
# Context 'localhost:8081' updated
Then to test the argo cli, we can list the accounts:
argo account list
# NAME   ENABLED  CAPABILITIES
# admin  true     login
RBAC: Creating Users and Roles
In this section we want to enable a user to be able to manage his own project and applications within that project and should not be able to view applications in the default project.
This will require us to do the following:
Create the local user
Set the password using the argocd cli
Define the role, role policies and associate the user to the role
Create the project that the user will manage
Create the application and assign it to the project
We will do all of this in a declarative way, except for setting the password.
First let's create the user named, John. We need to define the user in a config map, and we do that by adding it to our helm values in default/argocd/values.yaml
---
nameOverride: argocd

configs:
  params:
    server.insecure: true
  cm:
    accounts.john: login
    accounts.john.enabled: "true"
Then redeploy the changes by pushing to the main branch. Once the changes was redeployed, create a port forward session again:
kubectl -n argocd port-forward svc/argocd-server 8080:80
Then list accounts with the cli:
argocd account list
# NAME   ENABLED  CAPABILITIES
# admin  true     login
# john   true     login
We can see our user has been created, we can also see that the config map that stores the config can show us the same:
kubectl get cm -n argocd argocd-cm -o yaml
# apiVersion: v1
# data:
#   accounts.john: login
#   accounts.john.enabled: "true"
#   admin.enabled: "true"
#   ...
Since we don't want to store the password in our version control, we can set the password using the cli, generate a password and then set the password for john:
PASS=$(openssl rand -base64 18)
argocd account update-password --account john --new-password "$PASS"
You will be prompted to confirm the admin password, once that is successful, the password will be set. You can view the password for john by running echo $PASS .
SSO for Argo CD using Authentik
You can have a look at Argo CD's Documentation on SSO for more information, but in Argo CD, there are 2 ways how SSO can be implemented:
I am using Authentik as my SSO provider (you can choose anyone), but if you are following along, they have a nice tutorial on how to integrate Argo CD with Authentik for SSO. Their documentation made it really easy to set it up, but I will summarize how to do it, if you get stuck, follow the link above.
I will make two assumptions of the environment that I'm using:
Argo CD:
https://argocd.mydomain.comAuthentik:
https://auth.mydomain.com
I have 2 users on Authentik akadmin and ruan where I will use akadmin for operations like these, where I need to make admin changes to Authentik and my ruan user is for managing applications, like ArgoCD. As we will create a Application for Argo CD on Authentik, I will sign in with akadmin.
When we access Authentik, enter the Admin Interface, head to Applications dropdown, select Applications, then select "Create with Provider", then provide the following:
Application Details:
Name:
Argo CDSlug:
argo-cdUI Settings -> Launch URL:
https://argocd.mydomain.com/auth/login(select next)
Provider Type:
Oauth2/OIDC
(select next)
Provider Configuration:
Authentication Flow:
default-authentication-flowAuthorization Flow:
default-provider-authorization-explicit-contentClient Type:
ConfidentialClient ID: (copy this content to a safe place)
Client Secret: (copy this content to a safe place)
Redirect URIs:
https://argocd.mydomain.com/api/dex/callback(press submit)
Now that we have created the Application on Authentik, it's time to configure Argo CD to use Authentik for SSO.
Since we manage Argo CD with Argo, we can do the changes via our values yaml which is located at default/argocd/values.yaml :
argo-cd:
  configs:
    params:
      server.insecure: true
    cm:
      dex.config: |
        connectors:
        - config:
            issuer: https://auth.mydomain.com/application/o/argo-cd/
            clientID: <authentik-client-id>
            clientSecret: $dex.authentik.clientSecret
            insecureEnableGroups: true
            scopes:
            - openid
            - profile
            - email
          name: authentik
          type: oidc
          id: authentik
      url: https://argocd.mydomain.com
    rbac:
      policy.csv: |
        g, ArgoCD Admins, role:admin
A few things to take note of here:
The slug is in the issuer
argo-cdif your slug is different, you can change that hereThe client id is the values that you copied earlier, you can safely commit this to git.
The client secret will reference the value from a kubernetes secret which we will create next
Ensure that your url is correct, else the redirect will not work
We are granting admin roles to "ArgoCD Admins", so we need to add our user to that group later.
Once you save that to our values yaml, we can create the client secret as kubernetes secret, which first needs to be encoded with base64:
echo -n '<authentik-client-secret>' | base64 -w0
Then set the encoded value into the argocd-secret in the argocd namespace, which already exists, so we just need to append the key and secret.
View the secret:
kubectl get secret -n argocd argocd-secret -o yaml
# apiVersion: v1
# data:
#   admin.password: xxxxxxx
#   ...
Just underneath admin.password we can append our secret for authentik:
kubectl edit secret -n argocd argocd-secret
The content should look more or less like the following:
apiVersion: v1
data:
  admin.password: xxxxxxx
  dex.authentik.clientSecret: <the encoded client-secret value>
  ...
Once you save it and it's successful, you should be able to see the change when running kubectl get secret -n argocd argocd-secret -o yaml.
Now Argo CD will be able to reference the value from the kubernetes secret, so now we can add and commit default/argocd/values.yaml to the main branch.
The last step we need to do is to add our user to the "ArgoCD Admins" Group. I am going to add my ruan user to the group we will be creating.
Head over to:
Directory -> Groups
Select "Create" and provide the Name of the Group:
ArgoCD AdminsSelect Create.
Then once the group has been created, select the group, then:
Select the "Users" tab
Add existing user
Search for the user that you want to add (ruan in my case) to the ArgoCD Admins group and select add.
Now we can log out of akadmin user in Authentik, and then logon to Authentik with the ruan user.
Now we can test out the SSO by accessing Argo CD home page:
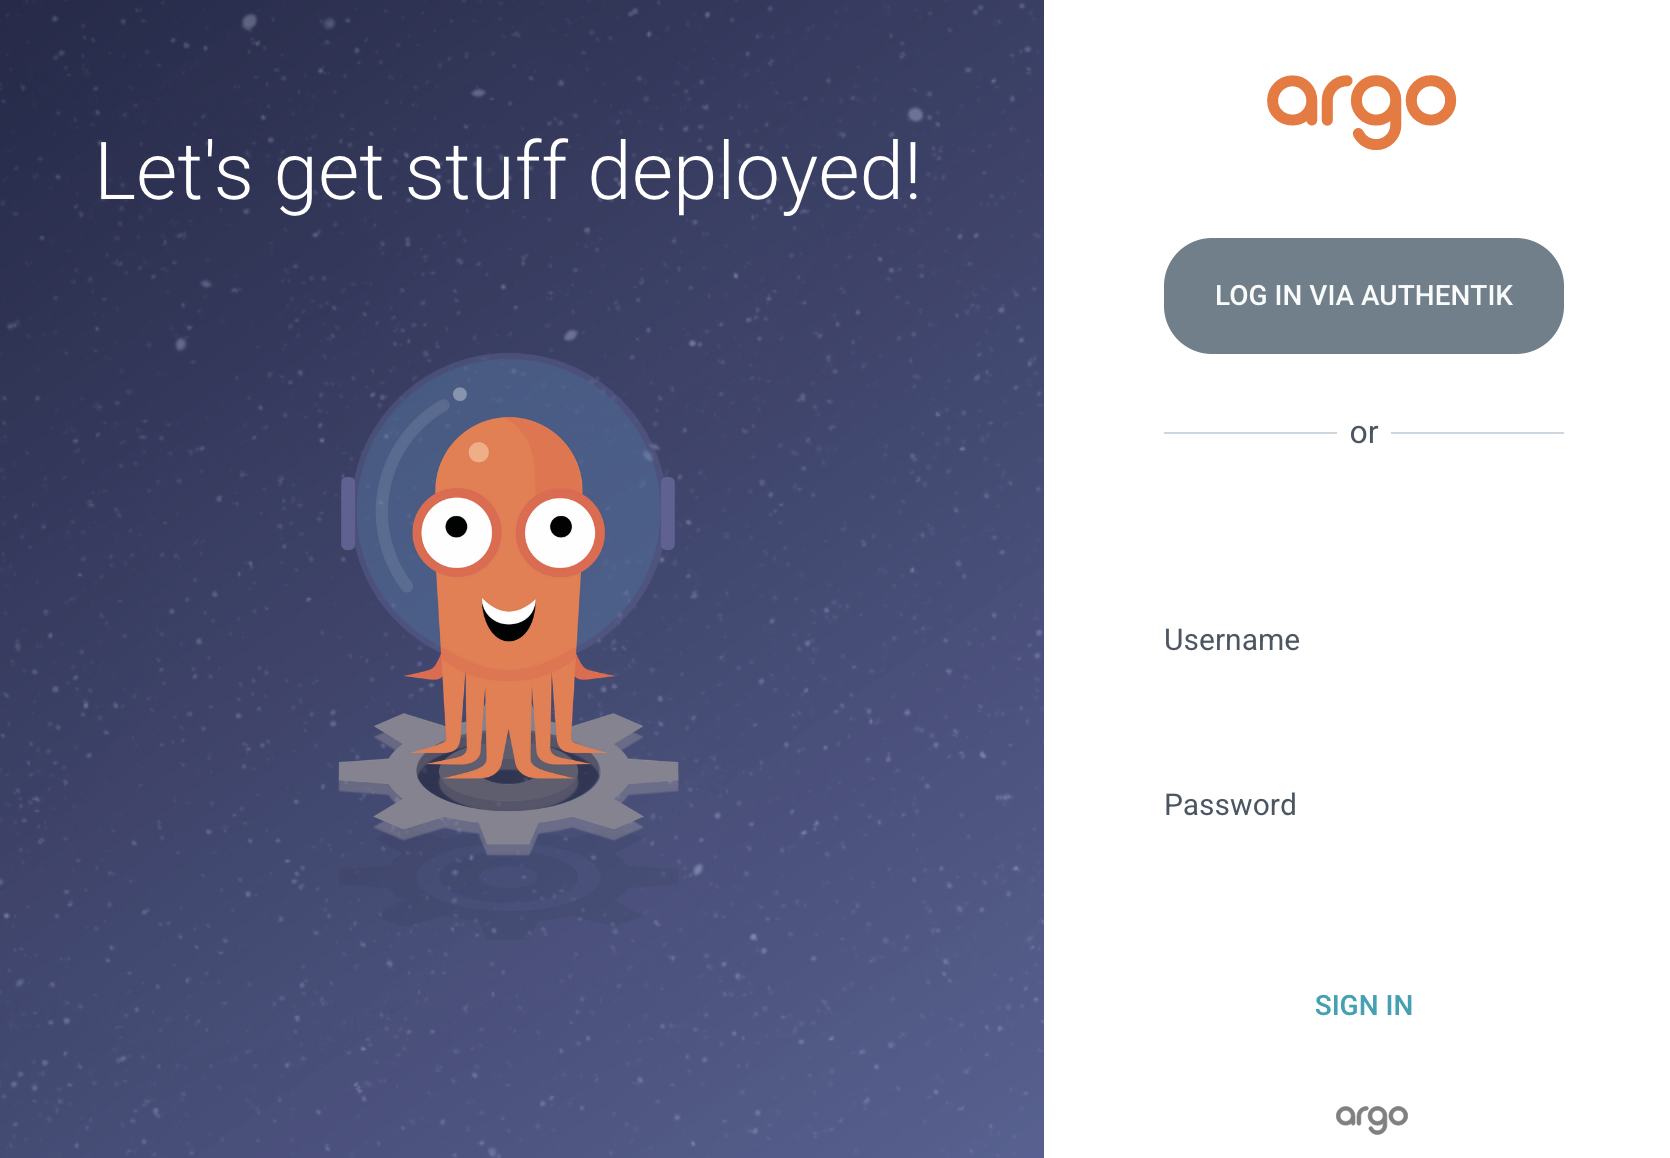
We can see we have a new "Log In via Authentik" button, since we are already authenticated with Authentik, it should automatically log us in. And you can verify that by selecting "User Info" inside Argo CD.
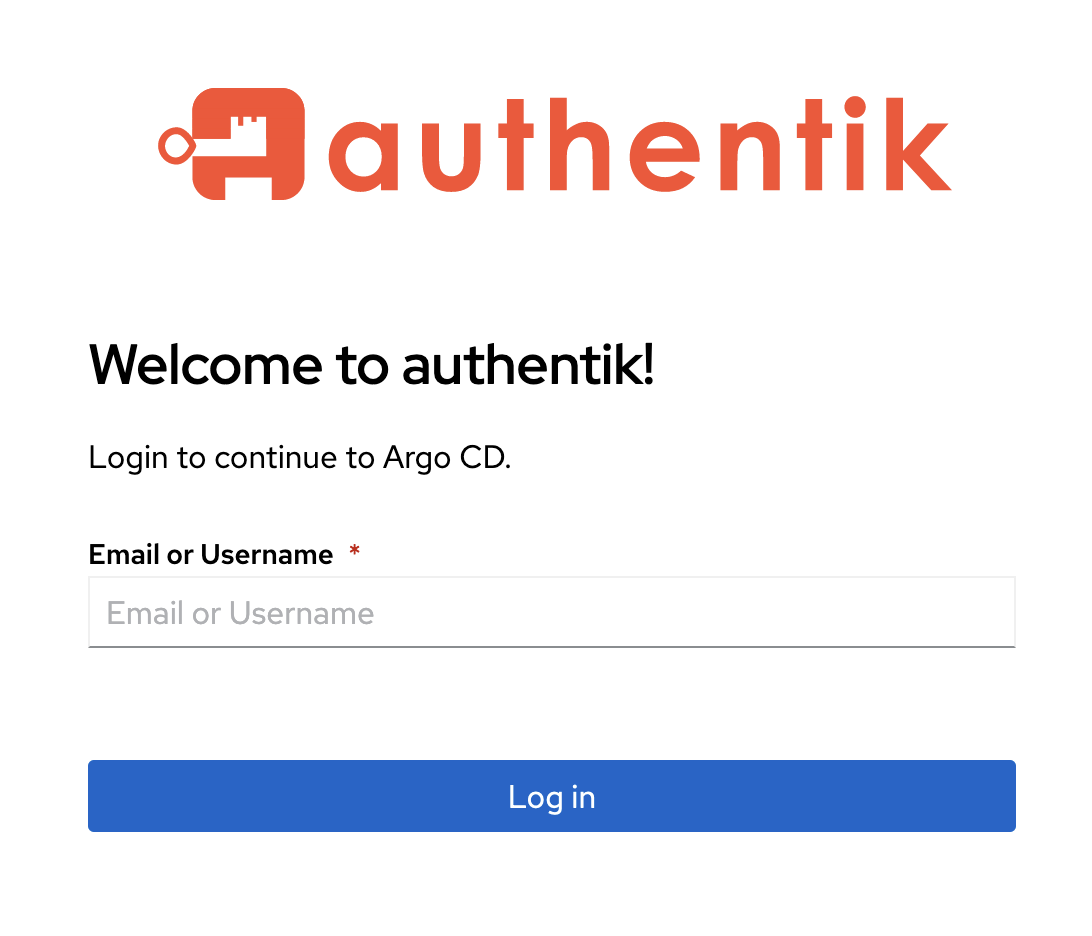
If you did not sign in to Authentik, you should see this view:
Argo CD Notifications
Argo CD Notifications continuously monitors your Argo CD Applications and notify targets about important changes in the application state.
There's quite a couple of notification services such as:
Alertmanager
Email
Github
Slack
and the list goes on here
We will be demonstrating Argo CD Notifications using the Email Notification Service as an example and I have deployed MailHog to my kubernetes cluster using the codecentric helm chart. Mailhog will act as a Email Testing Application with Webmail client so that we can receive test emails.
So the goal that we would like to achieve is to email us whenever an application has successfully synced, its a basic example, but it's just to give an idea.
In order to enable notifications and define a notifier, we need to do the following:
Enable notifications
Define a email notifier
Define the notification template
Define the trigger on how and when the notification should be sent
We will do the above by editing our argo cd values yaml in default/argocd/values.yaml :
argo-cd:
  notifications:
    enabled: true
    name: notifications-controller
    argocdUrl: "https://argocd.mydomain.com"
    secret:
      create: true
      name: argocd-notifications-secret

    notifiers:
      service.email.mailhog: |
        username: ""
        password: ""
        host: mailhog.mailhog.svc.cluster.local
        port: 1025
        from: argocd@mydomain.com
      template.app-sync-succeeded: |
        email:
            subject: Application {{.app.metadata.name}} has been successfully synced.
        message: |
            {{if eq .serviceType "slack"}}:white_check_mark:{{end}} Application {{.app.metadata.name}} has been successfully synced at {{.app.status.operationState.finishedAt}}.
            Sync operation details are available at: {{.context.argocdUrl}}/applications/{{.app.metadata.name}}?operation=true .
      trigger.on-sync-succeeded: |
        - description: Application syncing has succeeded
          send:
          - app-sync-succeeded
          when: app.status.operationState.phase in ['Succeeded']
Let's add and commit this back to github on the main branch and wait for argo cd to sync to enable notifications.
Now that notifications are enabled, the feature is ready to use, but we need to explicitly need to inform our applications to use our email notifier, we can make use of triggers by annotating our applicationset in default/argocd-apps/values.yaml :
argocd-apps:
  applicationsets:
  - name: apps
    namespace: argocd
    template:
      metadata:
        name: '{{path.basename}}'
        annotations:
          notifications.argoproj.io/subscribe.on-sync-succeeded.mailhog: ruan@mydomain.com
Here we can see that we want to send notifications to ruan@mydomain.com and since we are using mailhog, the mails will be routed to our test email service.
Add and commit default/argocd-apps/values.yaml and push it up to github and wait for argo cd to sync, a couple of moments later you should see something like this:
As you can see the subject is parsing the application name hostname in the subject, and when we open that email we can see the content:
As you can see the link to our application inside argo cd has been hyperlinked which makes it easy to navigate to the application.
For more information about argo cd notifications, please see:
Thank You
That is all for this tutorial, I hope this was useful. I will introduce updates to this post when I stumble upon more Argo CD content.
If you enjoy my content please feel free to follow me on Twitter - @ruanbekker or visit me on my website - ruan.dev
Resources
https://argo-cd.readthedocs.io/en/stable/operator-manual/declarative-setup/
https://argo-cd.readthedocs.io/en/stable/user-guide/private-repositories/#private-repositories
https://argo-cd.readthedocs.io/en/stable/user-guide/application-set/
https://argo-cd.readthedocs.io/en/stable/operator-manual/notifications/
https://github.com/ruanbekker/helm-charts/blob/master/microservice/values.yaml


