Setup a Proxmox Node

I have a passion for problem solving, building things and making businesses succeed. I’m madly curious by heart, so I’m very hungry for knowledge and you will always find my trying and testing out new things to stay ahead of the game.
In this tutorial, we will be installing a Proxmox node, by flashing our USB media and demonstrating each step to get a Proxmox virtual environment up and running.
What is Proxmox?
Proxmox Virtual Environment (Proxmox VE) is an open-source server virtualization management platform that allows you to easily create and manage virtual machines and containers on your hardware.
Proxmox provides a web-based interface for managing your entire virtualized infrastructure, eliminating the need for separate management tools or software. It combines two virtualization technologies: KVM (Kernel-based Virtual Machine) for virtual machines and LXC (Linux Containers) for lightweight container-based virtualization.
Prepare Bootable Media
First, we need to get the Proxmox ISO, which we can retrieve from their downloads page. Once you have downloaded the ISO, you can use tools such as the following to flash your USB device with the Proxmox software:
Once you have flashed your USB device with Proxmox, boot your hardware with them and select F10 to select that you want to boot from USB.
Steps of Installation
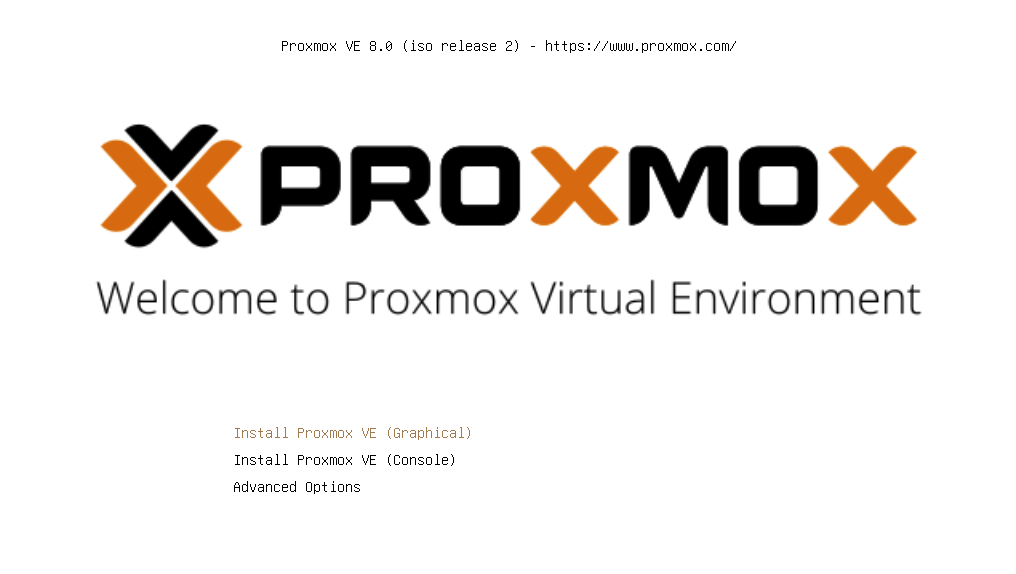
Once you have booted from USB, you should see the following screen:
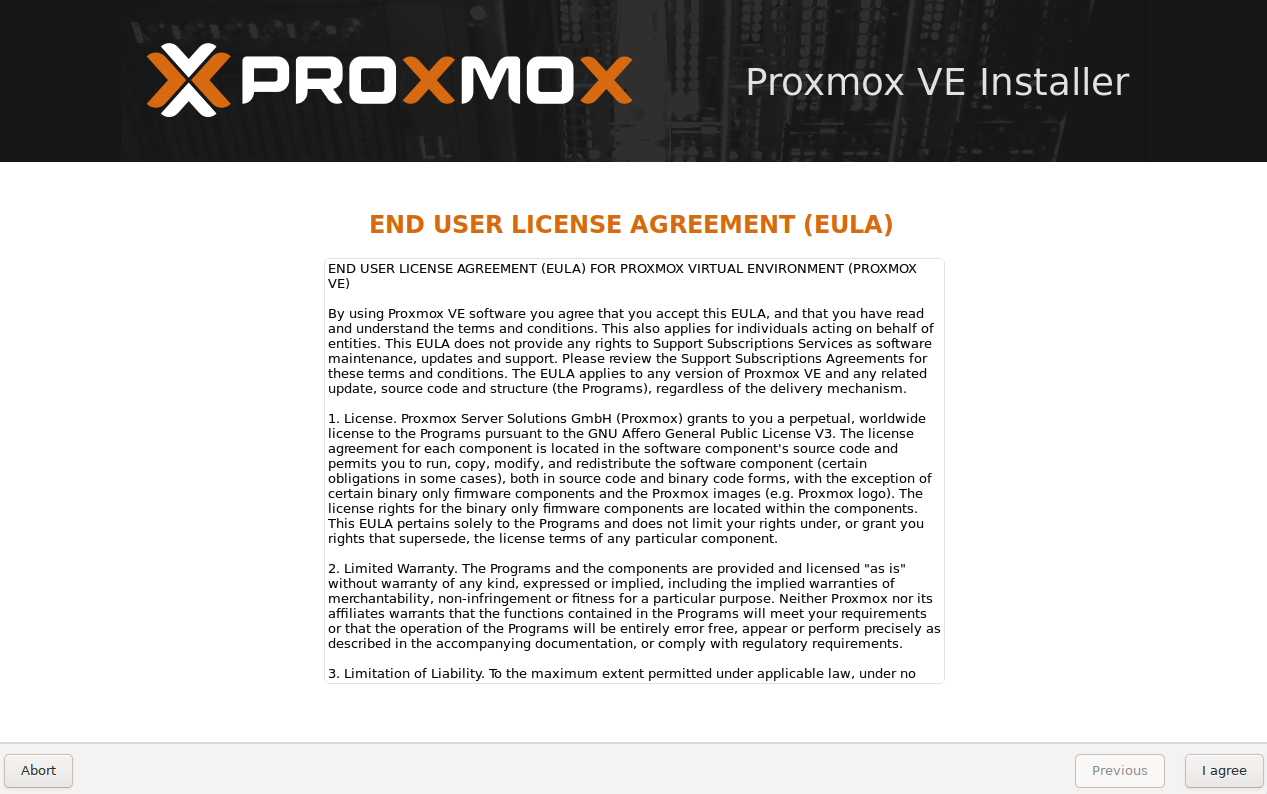
I will be selecting the "Graphical" installation. Then I will be presented with the end user license agreement, which I went through and accepted by selecting "I agree":
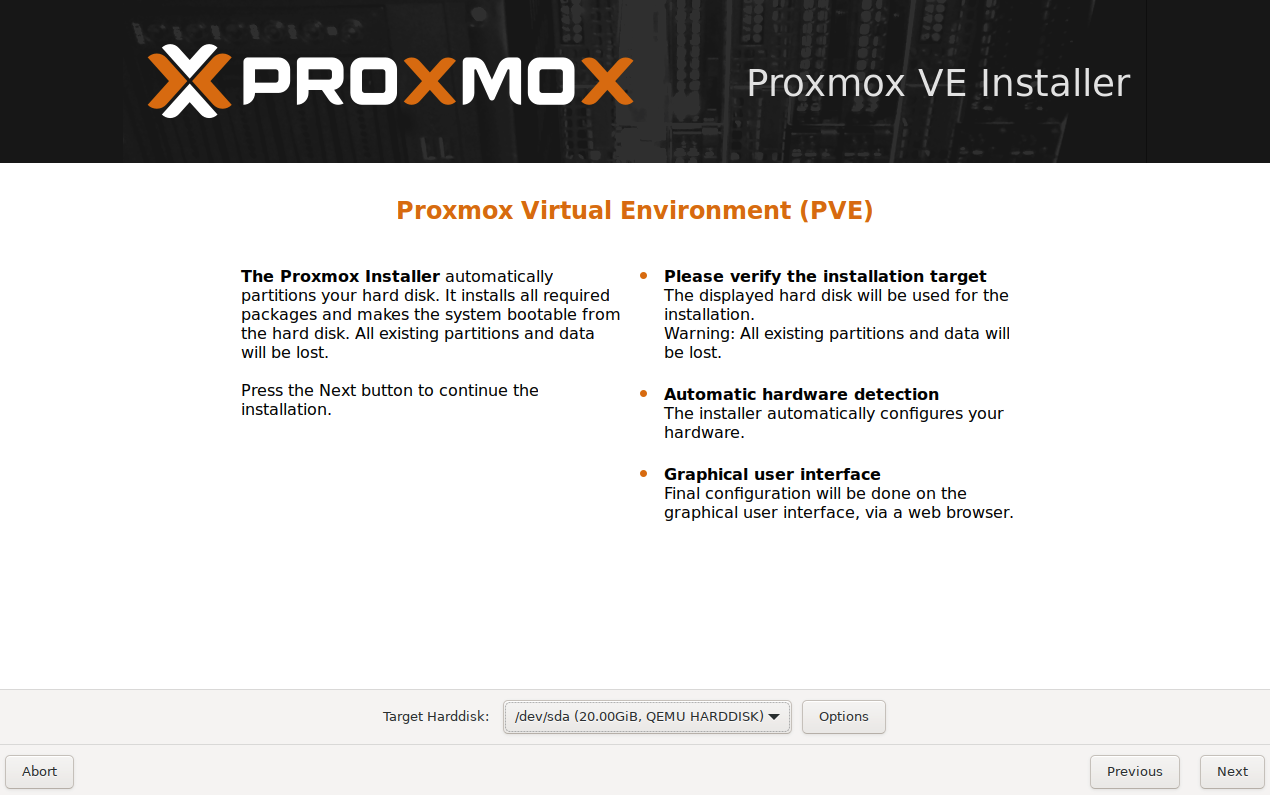
Next, we will select the target hard drive that we want to install Proxmox on, I have two devices /dev/sda and /dev/sdb, and for Proxmox I will select /dev/sda:
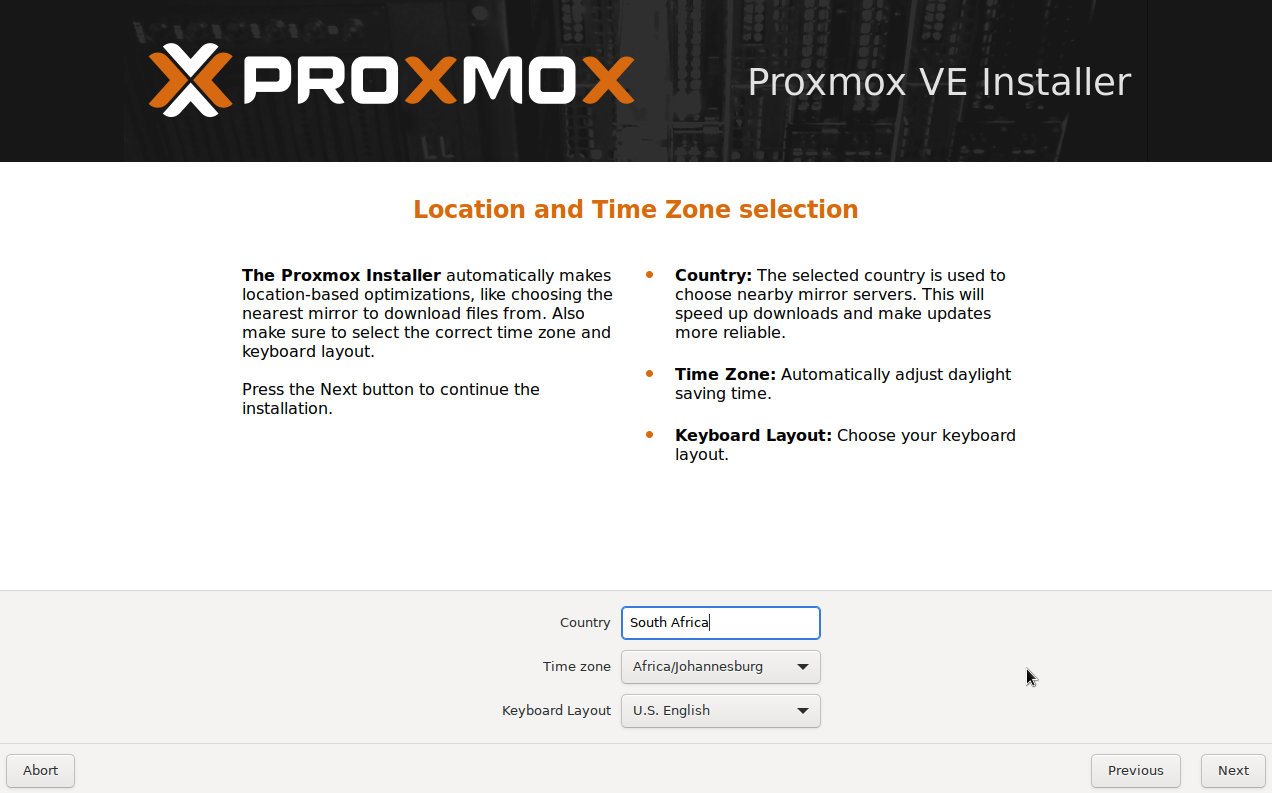
Then we need to select our location and time zone:
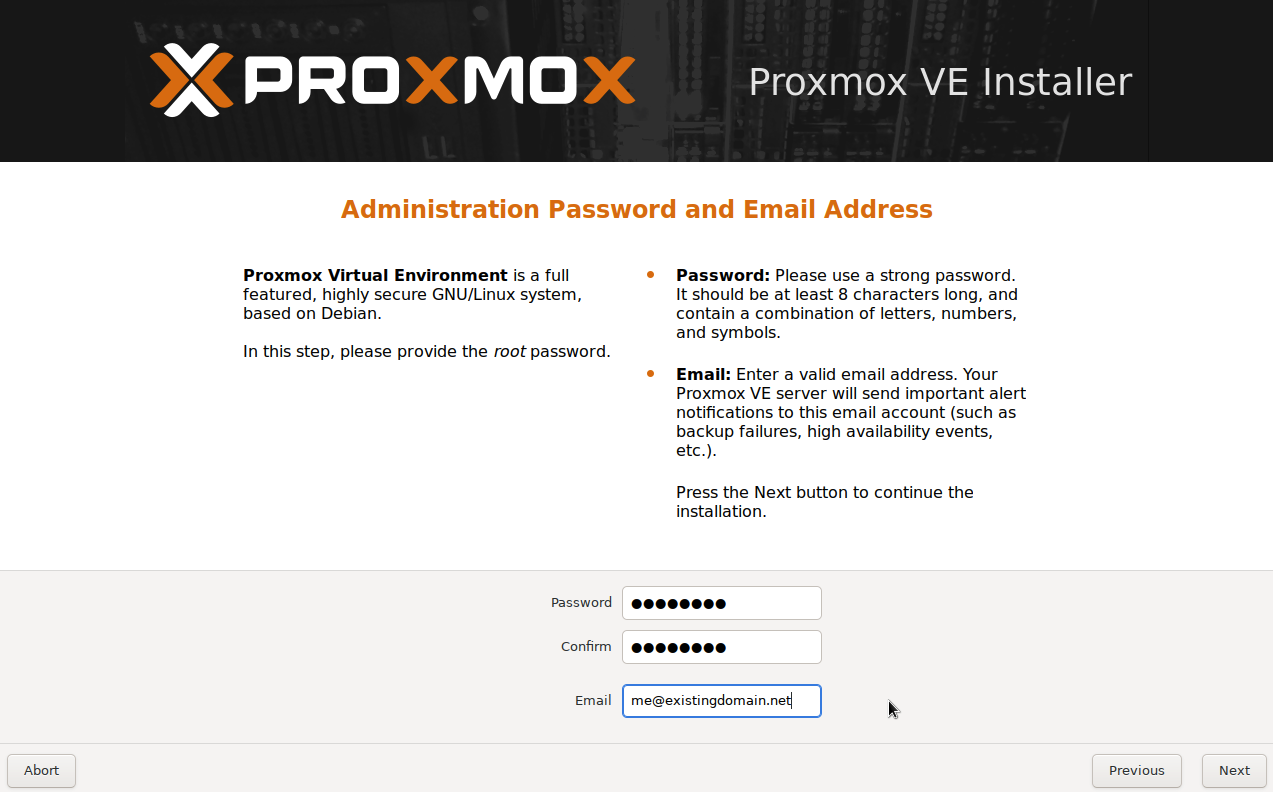
Next up we need to define our root password and a valid email address:
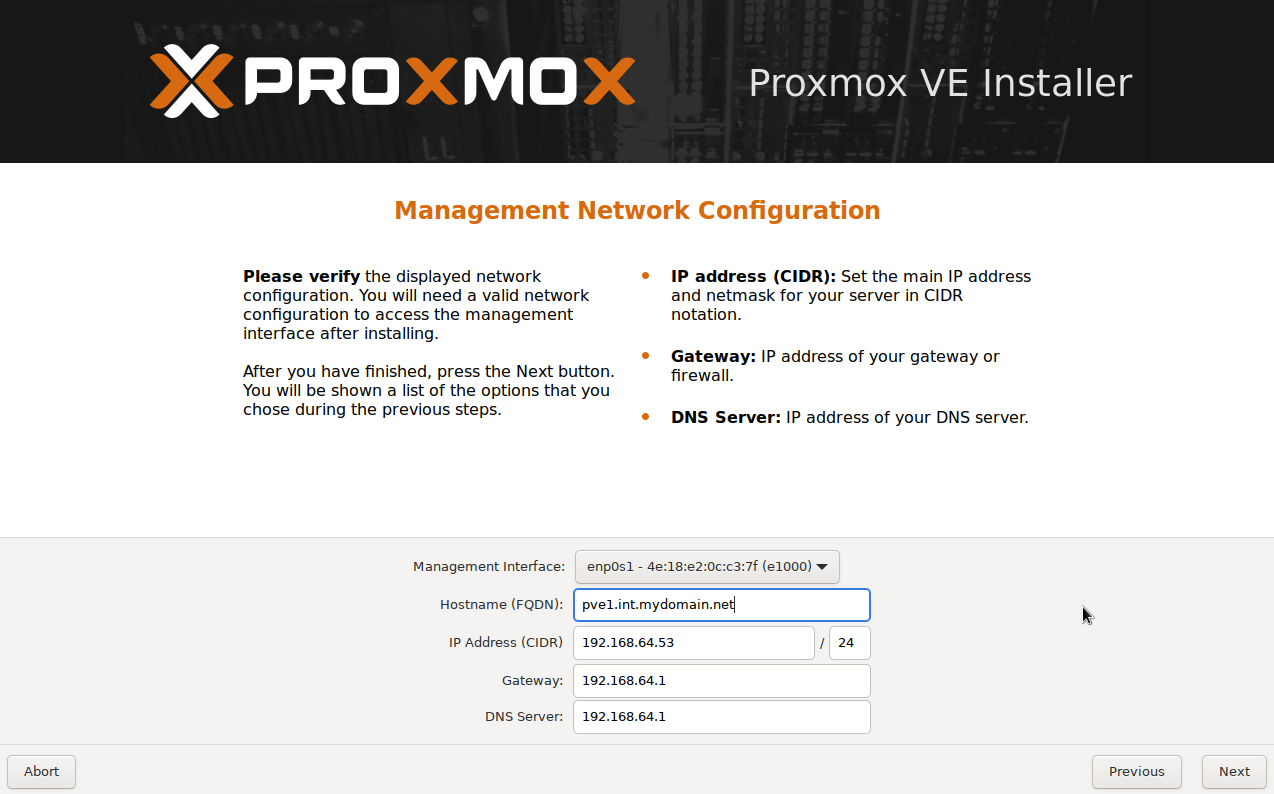
For the network configuration, if you have more than one network interface, select your network interface, then provide the hostname and network configuration:
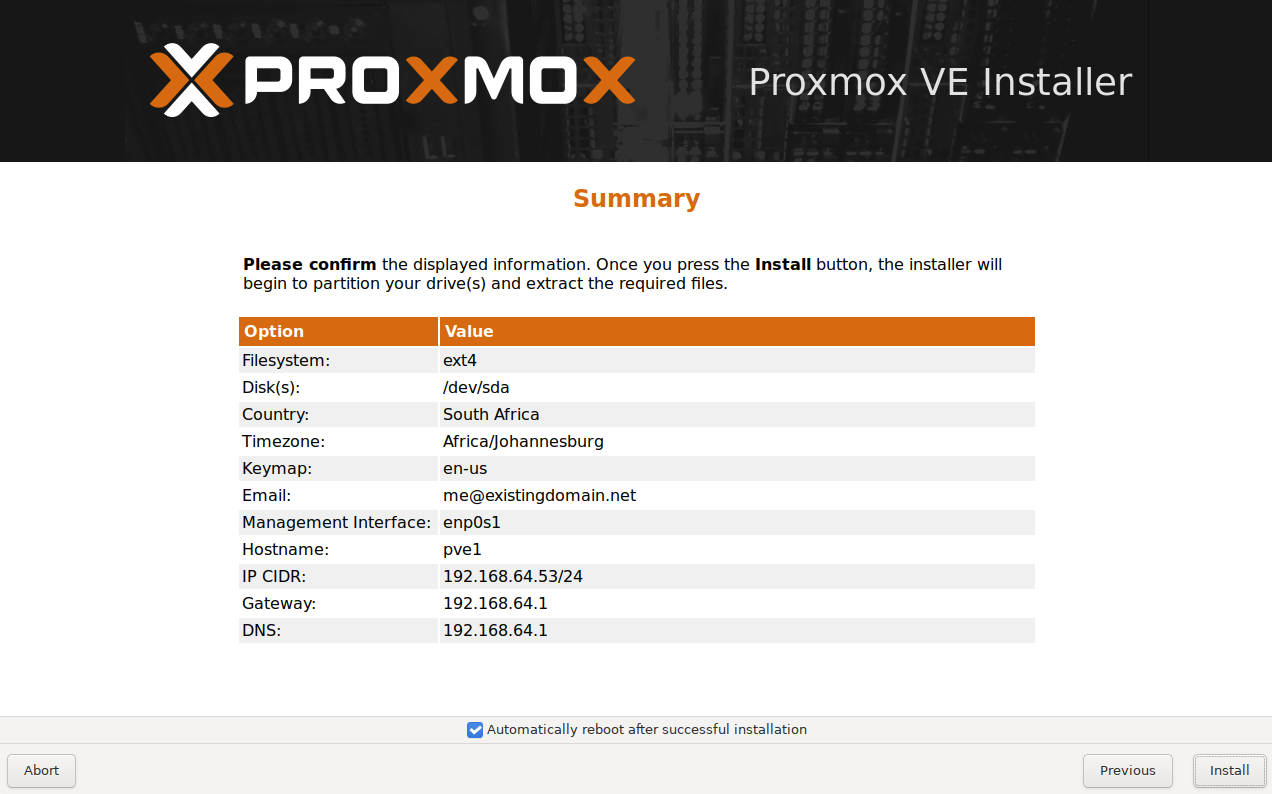
Now we will get a summary of our installation, after reviewing that everything is correct we can select "Install":
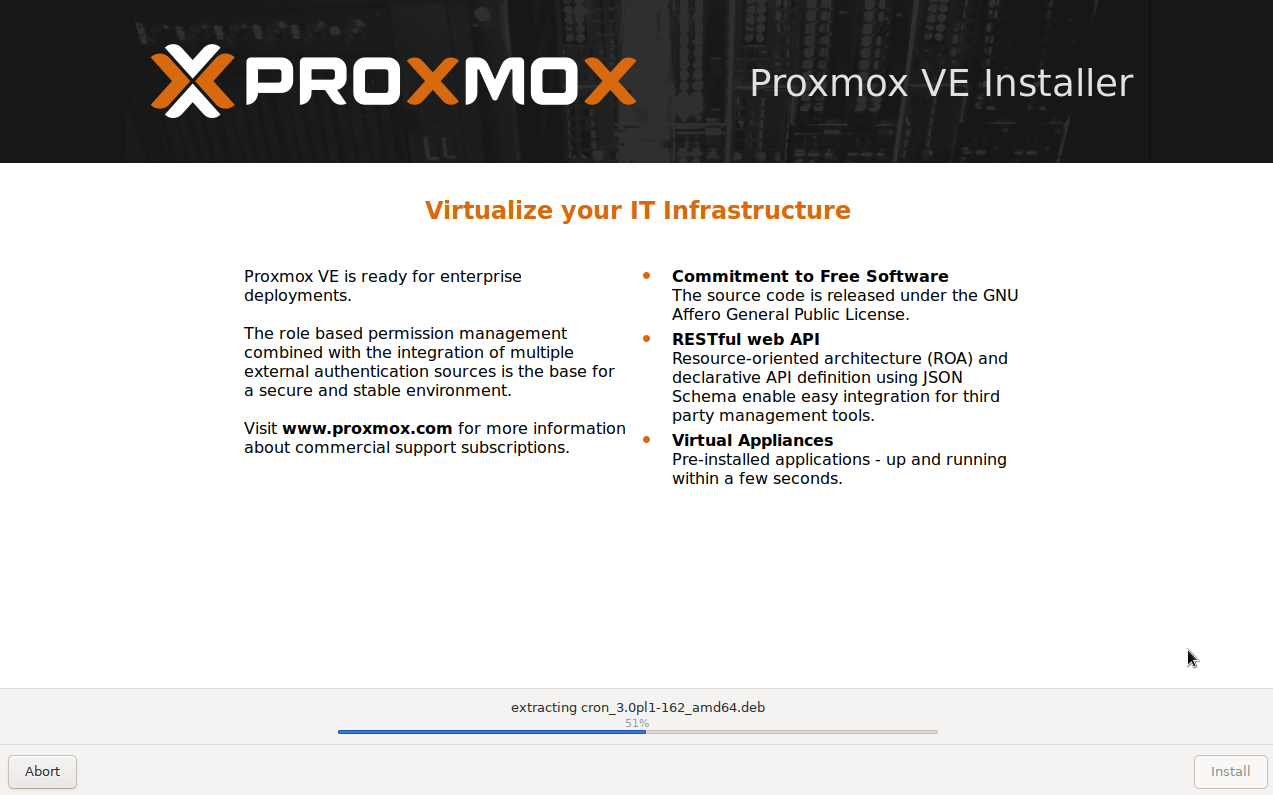
Then we will see the installation process:
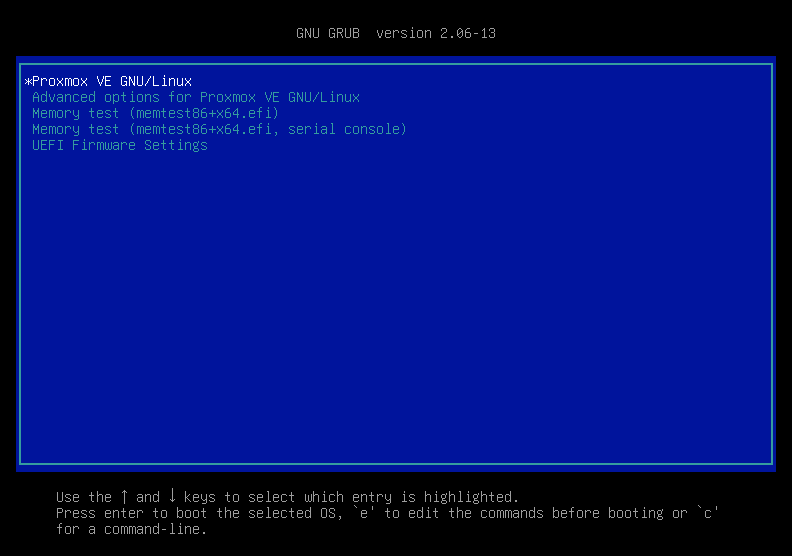
Once the installation process is complete, you can remove the USB media and once you reboot you should see this screen:
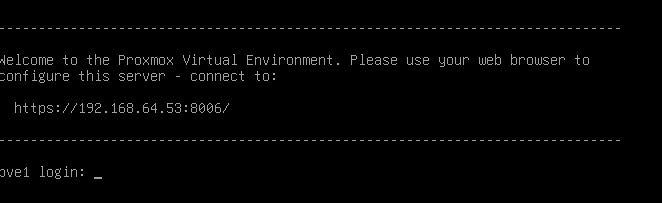
After the boot process has complete, you should see the console login screen showing you the address to access the Proxmox Web UI:
When we head over to that address we will be presented with a certificate warning:
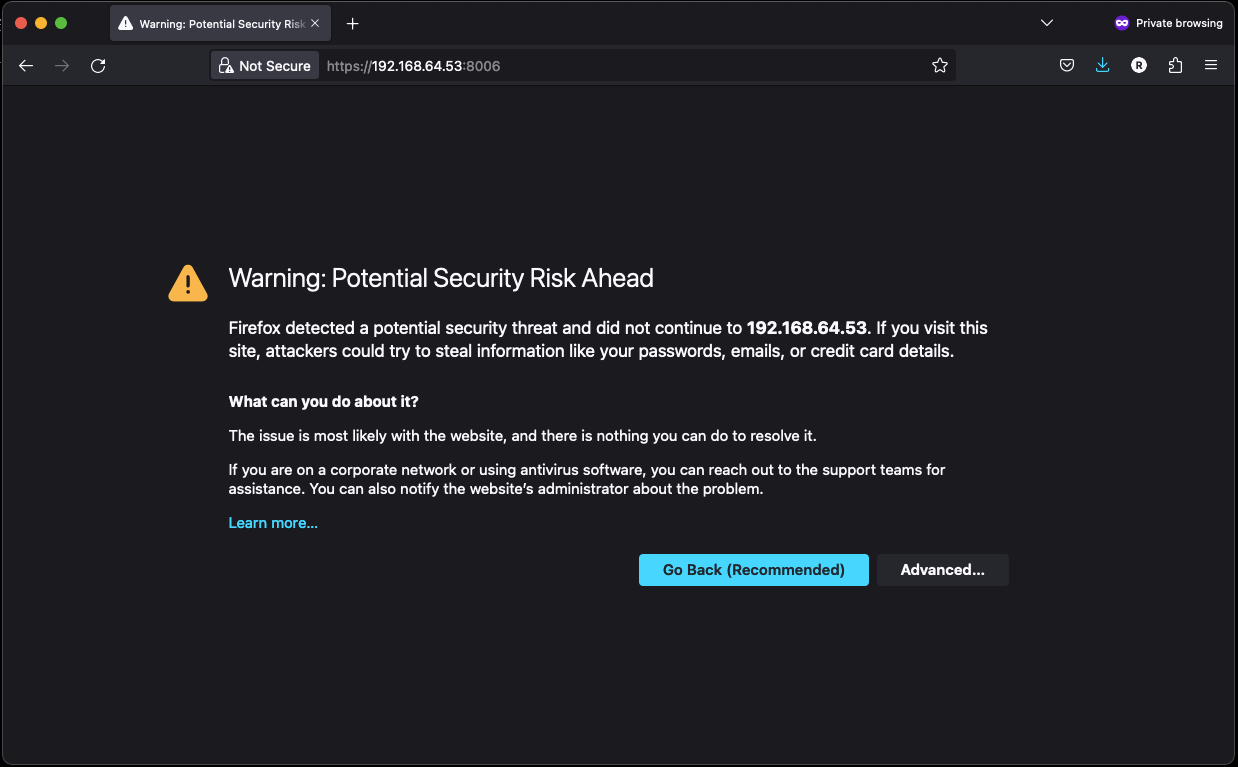
We can accept it as it's a self-signed certificate that is issued by Proxmox. We do that by selecting "Advanced", then "Accept the Risk and Continue":

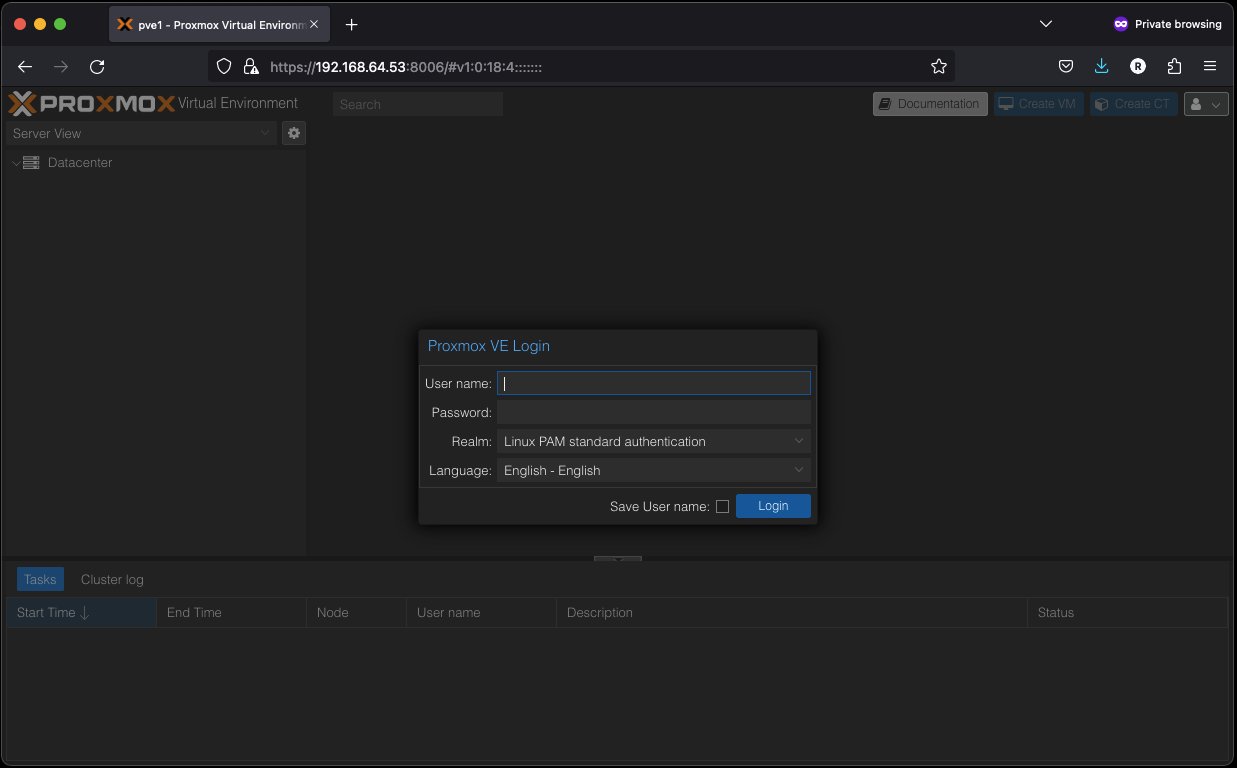
We will then get the Proxmox VE Login screen:
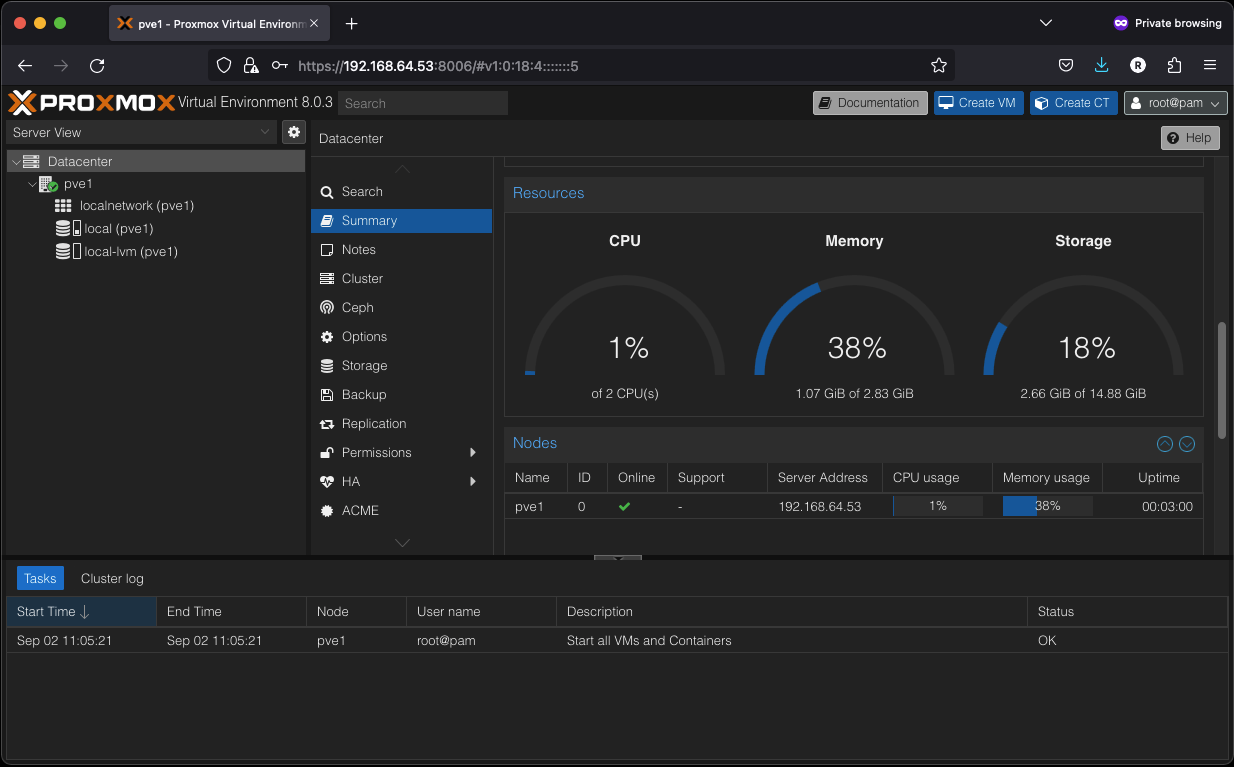
Once we have successfully authenticated to Proxmox, we should see information about our Proxmox node:
Thank You
Thank you for reading, If you find my content useful, feel free to reach out to me at:
Twitter: ruanbekker
Website: https://ruan.dev


